Too cold to bond well
On a large part, the nozzle may take a long time to return. By then, the surface can be too cold for the next bead to bond well.

Technology
The previous layer needs enough heat to bond with the next one. The part around it still needs to hold its shape. LEAM helps you manage that balance.
Read the FAQs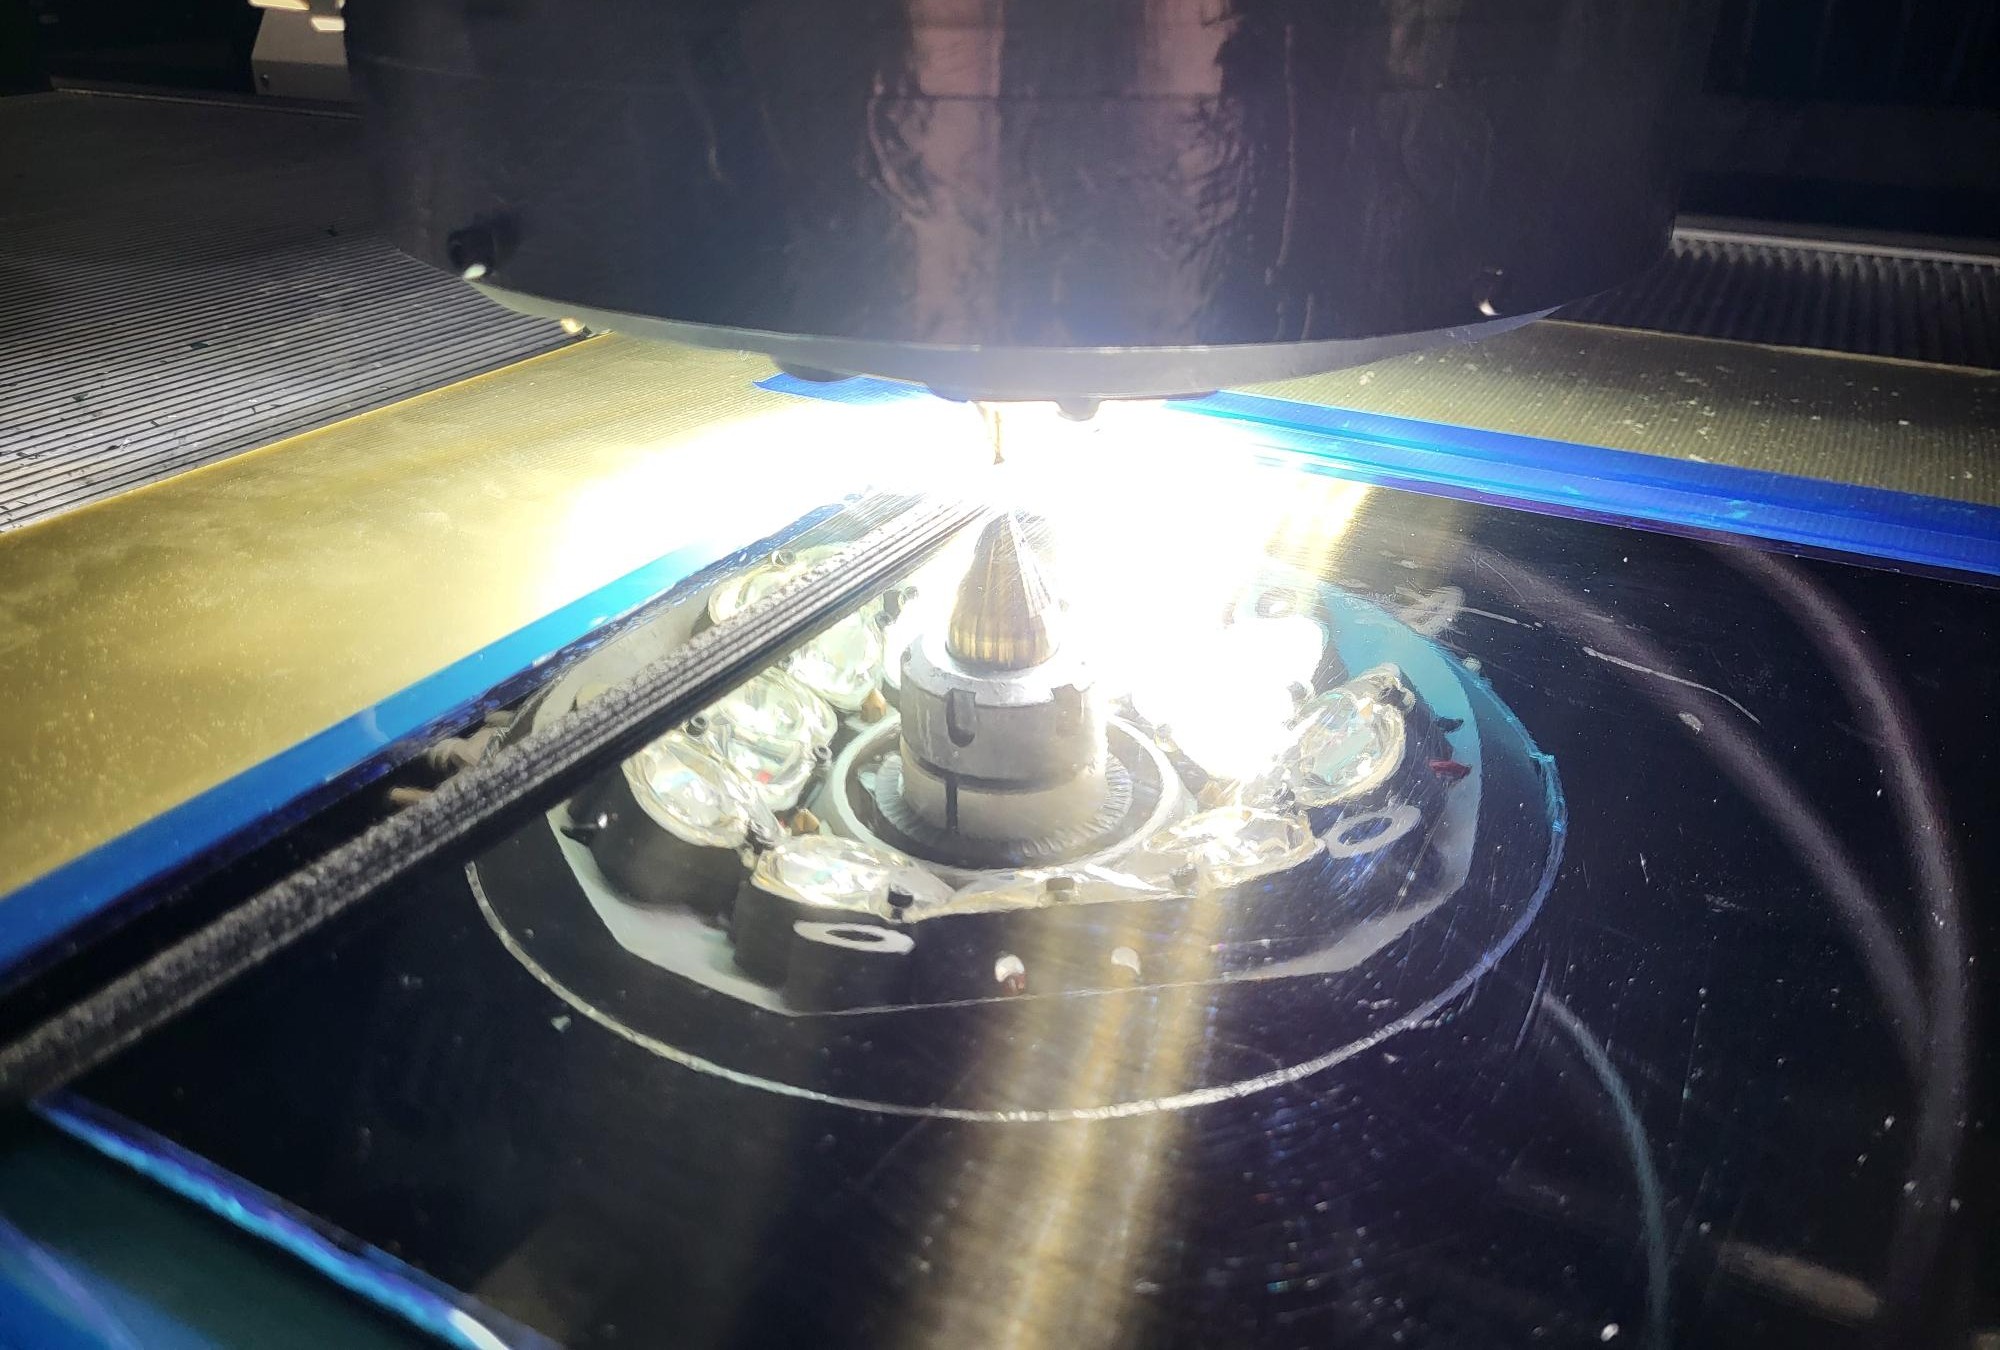
Why large-format prints are demanding
On a large part, the nozzle may take a long time to return. By then, the surface can be too cold for the next bead to bond well.
In smaller regions, the next layer can arrive before enough heat has escaped. The material stays soft, and sagging or distortion can put the build at risk.
Material, shape and layer time all change what the process needs. The aim is a well-bonded part that keeps its geometry as you build it.
Localized thermal control
LEAM applies localized heating at the deposition interface, where fresh material meets the previous layer. Temperature sensing and process feedback help control that heat as the print progresses.
Heating is only part of the picture. Where heat buildup limits the print, cooling and the wider process strategy matter too. We look at both bonding and part stability.
Explore DEMEX ↗Temperature readings and control
Your melt setting alone does not define the conditions at the bond. Layer time, wall thickness and surroundings change the temperature of the previous layer. LEAM gives you continuous, real-time readings of bulk and surface temperature, with control of both.
MeltHeated surfaceInterface temperature
Extruder setting
You control the melt through your extruder settings.
Continuous real-time reading · LEAM control
LEAM heats a thin surface film in the heater spot while the bulk below stays stable.
Continuous real-time reading · LEAM control
The previous layer’s temperature varies with layer time, wall thickness, melt temperature and ambient conditions. LEAM controls it through cooling and changes in motion speed.
Between beads · not measurable
The temperature where the layers meet determines bonding. It results from the melt meeting the heated surface. Controlling that surface makes the bonding condition repeatable.
We’ll help you connect the strength result to the loads, shape and production needs of your part.
Frequently asked questions
In principle, any thermoplastic that can be melted and extruded is suitable. For our light-based heating to work, the material also needs to absorb the light. Its color is therefore an important part of the choice.
Darker materials absorb more of the heating light and heat up more readily. Colored materials work too, but the lighter the shade, the weaker the temperature response.
Fully transparent or perfectly white materials cannot be heated with our system because they do not absorb enough of the light.
We recommend 3–30 mm as a starting range. Thinner or thicker sections need a closer look at the material, bead geometry and how heat moves through the part. Share the cross-section you plan to print so we can assess it with your process settings.
The heating system needs access to the surface where the next layer will be deposited. We check the approach angle and clearance along the toolpath, including space around the nozzle. A drawing of the print head and a representative path help us assess what will fit.
The relevant temperature is the surface temperature just before the next layer is deposited. What it can reach depends on the material’s absorption, the time under the heater and the available heating power.
We match that to your material’s processing window. A nozzle setting or a sensor’s measurement range does not tell you the temperature the bonding surface can reach.
For most polymers, we can achieve material properties at the level of compression-molded bulk material, provided the extrusion quality is high enough to produce pore-free material.
The comparison should use the same material grade and test conditions. The studies below show what thermal control achieved with LMPAEK and PA6-CF.
Yes, but they affect it in different ways. Higher material throughput can help retain more heat, reducing the extra heating power needed. Higher travel speed gives each section less time under the heater, so more power is needed to reach the same temperature.
Bead size and layer time matter too. We look at these together with your travel speed, material output and target temperature to match thermal control to your production settings.
When heat builds up in the part, you may have to print more slowly or pause between layers to let it cool. Active cooling can reduce both the waiting time and the need to slow down.
Heating a cold surface happens as the print moves, so it does not necessarily require a pause. If the surface needs more time under the heater, the print may need to run more slowly. The effect on total build time depends on which limit your process reaches.
Yes. In the materials we have tested, we have also seen strong increases in impact and fatigue performance.
For example, unreinforced PEEK specimens matched compression-molded specimens in our cyclic bending test. Better bonding can also change failure from brittle separation between layers to ductile deformation. The gain depends on the compound and loading conditions.
Warping control is not what DEMEX is designed for. The extra heat input can raise the overall process temperature slightly, which may reduce warping a little. That is an indirect side effect, rather than an intentional or controllable warping-reduction function.
We have worked with several machine manufacturers and already offer standard integration kits for a number of platforms. If we do not yet have a kit for yours, we are happy to work with your OEM to develop one.
Send us your machine and extruder model so we can identify the right mounting and integration setup.
Yes. DEMEX is designed to work within your existing workflow. You do not need a particular slicer: we obtain the control inputs we need from the machine controller, where we have found them readily available.
The only requirement for the slicer is collision avoidance for the added hardware around the nozzle.
Plan for cabinet power, compressed air, a cooling circuit and a connection to the machine controller. Leave enough space to route the cables and hoses through the machine’s full range of motion.
Allow a minimum bend radius of 93 mm for the standard cable and hose bundle.
We confirm the protective carrier and complete routing arrangement for your machine during integration planning.
The additional requirement for an existing robot printer is protection from the heating light. The usual options are tinted windows (we recommend PLEXIGLAS® GS Umbra 7C27) in place of clear windows in the safety fence, or the specified protective eyewear (PPE).
We help select the appropriate shielding or PPE for your cell and operating setup.
Yes. We can print test cubes with your material if needed, or connect you with research institutes that already have our system.
Tell us which properties you need to compare so we can help you plan a useful test.
A trial can start in the mid four figures in euros. A full purchase is typically in the mid to high five figures in euros.
The cost covers the system and shipping, with travel, installation services or extended cables available as options. The exact price depends on the extruder type, whether you need us to install it and whether a trial comes before the purchase.
After purchase, there are no recurring LEAM fees. Replacement costs are limited to spare parts for components that wear down.
Yes. You can purchase directly or start with a paid trial of at least three months. The trial can be extended on a rolling basis.
Part of the trial and rental payments is credited toward a purchase. Once the accumulated credit covers the full purchase price, ownership transfers to you automatically.
Typical lead time is about two months from your purchase order. We can expedite on request if you need the system sooner.
Let’s talk about your part
Tell us what you’re printing and where it falls short. We’ll help you decide whether thermal control could make the difference.